How to Develop Custom Themes for WooCommerce


Are you new to WooCommerce and thinking about creating a custom theme for your site? You've come to the right place.
While there's a world of pre-built themes out there, nothing beats the personal touch of a custom design that screams "you."
In this guide, I'll walk you through the steps to develop a custom WooCommerce theme. You'll also discover helpful theme builders and tools to modify an existing theme to better suit your needs.
Developing a Custom Theme for WooCommerce (Manual Method)
Before creating a WooCommerce theme, let's first set up WordPress local hosting. This foundation is essential as you engage in WooCommerce theme development.
1. Install WordPress Locally
Begin by setting up WordPress on your computer. You’ll need a local server environment like Apache or Nginx. Here are the system requirements:
- Hardware: At least 1.5GB of disk space and 4GB RAM.
- Software: MySQL 5.6 or MariaDB 10.1 or above, PHP 7.4 or above, and HTTPS support.
Steps to Set Up Locally:
- Install a server environment: Use XAMPP for Windows or MAMP for macOS.
- Download and configure WordPress: Download WordPress from its official site. Place the WordPress files in your server’s ‘htdocs’ folder, set up a database through phpMyAdmin, and start the WordPress installer by navigating to your local site’s URL (e.g., http://localhost/yourwordpress).
Using Managed WordPress hosting
You can also use platforms like Cloudways to manage your WordPress setup efficiently. Doing so simplifies the process and makes it easy to meet all the necessary requirements.
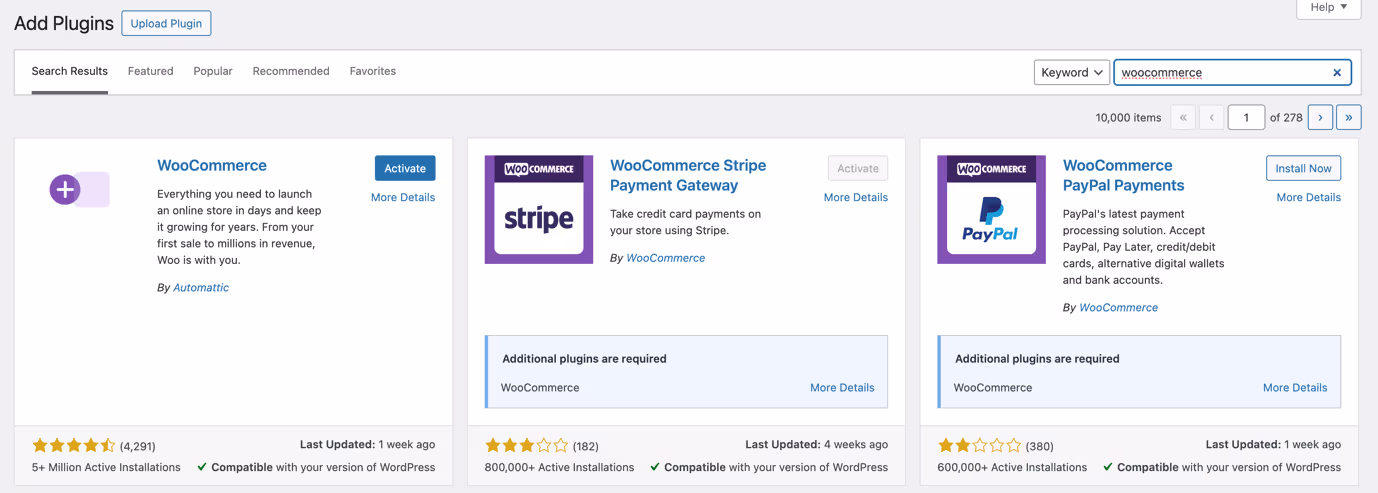
2. Install the WooCommerce Plugin
Next, you have to install the WooCommerce plugin inside WordPress. Here are the steps to do so:
- Access your WordPress Dashboard.
- Go to Plugins > Add New.
- Search for WooCommerce, install, and activate it.
With WordPress and WooCommerce now installed locally, you’re well-prepared to develop your WooCommerce theme.
3. Create a Custom WordPress WooCommerce Theme
Creating a custom WooCommerce theme on your own might sound like a big task, but it's doable if you follow these steps:
1. Set Up Your Theme Folder
First, create a new folder in your WordPress installation under wp_content/themes. Name it something unique like mythemecustom.
2. Key Files You’ll Need
A basic theme needs a few specific files:
- style.css: Controls the visual styling of your theme.
- functions.php: Adds functions and features to your theme, like WooCommerce support.
- header.php: Contains the code for the top part of your website.
- footer.php: Manages the bottom part of your website.
- index.php: The main file where your site’s content is displayed.
- woocommerce.php: Handles the layout for WooCommerce pages.
3. Organize Your Files and Folders
Create directories within your theme folder to keep things tidy:
- images/: To keep your image files.
- css/: For storing CSS files like bootstrap.css.
- js/: For JavaScript files.
4. Develop Your Theme Files
Fill out your theme's files with the necessary code. For instance, set up your functions.php to add basic WordPress hooks and WooCommerce support:
<?php
function mycustomtheme_setup() {
    add_theme_support('woocommerce');
    add_theme_support('automatic-feed-links');
    add_theme_support('post-thumbnails');
    register_nav_menus(array(
        'primary' => __('Primary Menu', 'mycustomtheme')
    ));
}
add_action('after_setup_theme', 'mycustomtheme_setup');

function mycustomtheme_scripts() {
    wp_enqueue_style('mycustomtheme-style', get_stylesheet_uri());
    wp_enqueue_script('mycustomtheme-script', get_template_directory_uri() . '/js/custom.js', array('jquery'), true);
}
add_action('wp_enqueue_scripts', 'mycustomtheme_scripts');
?>
This snippet ensures your theme supports WooCommerce and basic WordPress features, and it correctly loads your styles and scripts.
5. Use Hooks and Filters
Action Hooks: Execute custom code at specific moments. Example:
add_action('woocommerce_before_single_product', 'custom_action_function');Filter Hooks: Modify data passing through them. Example:
add_filter('woocommerce_product_price', 'modify_price_function');6. Customize WooCommerce Integration
To integrate WooCommerce seamlessly, modify your woocommerce.php like this:
<?php get_header(); ?>
<div id="main" class="row">
    <div id="content" class="col-lg-12">
        <?php woocommerce_content(); ?>
    </div>
</div>
<?php get_footer(); ?>
This code sets up a basic WooCommerce layout within your theme.
7. Add a Sidebar (Optional)
If your theme design includes a sidebar, set it up in sidebar.php:
<div id="sidebar" class="col-lg-4">
    <h2><?php _e('Categories'); ?></h2>
    <ul><?php wp_list_categories('title_li='); ?></ul>
    <h2><?php _e('Archives'); ?></h2>
    <ul><?php wp_get_archives(); ?></ul>
</div>
This sidebar file uses WordPress functions to display categories and archives, providing navigation aids for your site visitors
8. Style Your Theme
Modify your style.css to set the basic styles for your theme. This helps ensure it is visually appealing and matches your brand. Here’s the code:
body {
  font-family: Arial, sans-serif;
  line-height: 1.6;
  color: #333;
}
a {
  color: #0067ee;
  text-decoration: none;
}
.header-logo img {
  height: 50px;
}
9. Expand with Custom Hooks and Scenarios:
Explore specific hooks for custom scenarios like changing product layouts or adding custom fields. For instance:
remove_action('woocommerce_single_product_summary', 'woocommerce_template_single_price', 10);
add_action('woocommerce_single_product_summary', 'woocommerce_template_single_price', 25);
10. Final Steps
Finally, ensure all your theme's components are correctly linked and functioning. Test your theme locally or in a staging environment to make sure everything works as expected with WooCommerce. Adjust and refine as necessary to match your design and functionality goals.
Customizing WooCommerce Website Templates
After you've built a custom WooCommerce theme, you might want to fine-tune it to meet your specific needs. Customizing design templates allows you to tailor product layouts, add custom fields, and even create unique checkout pages. Here's a quick walkthrough with practical examples and code snippets to help you customize your WooCommerce store effectively.
Adding Custom Fields to Product Pages
Perhaps you want to collect additional information from customers, such as a special message or gift options. You can do this by adding a custom field to your product pages. Here’s the code for it:
// Display the custom field on the product page
function display_custom_product_field() {
    woocommerce_wp_text_input(
        array(
            'id' => '_custom_message',
            'label' => 'Special Message',
            'placeholder' => 'Enter a special message',
            'desc_tip' => 'true',
        )
    );
}
add_action('woocommerce_before_add_to_cart_button', 'display_custom_product_field');

// Save the custom field value to the product
function save_custom_product_field($product_id) {
    if (isset($_POST['_custom_message'])) {
        $custom_message = sanitize_text_field($_POST['_custom_message']);
        update_post_meta($product_id, '_custom_message', $custom_message);
    }
}
add_action('woocommerce_process_product_meta', 'save_custom_product_field');
Modifying Product Layout
You may also want to modify the layout of product pages, such as adjusting the position of the product description, title, or price. Leverage the woocommerce_single_product_summary action hook to rearrange these elements. For instance, you can move the price below the item title by using the following code:
remove_action('woocommerce_single_product_summary', 'woocommerce_template_single_price', 10);
add_action('woocommerce_single_product_summary', 'woocommerce_template_single_price', 25);
Developing a Unique Checkout
Do you want different checkout experiences for specific products or categories? If yes, you can customize the checkout process using the woocommerce_checkout_init action hook. For instance, to redirect users to a unique checkout page for a specific product, use the following code:
function custom_checkout_redirect() {
    global $wp;
    if (is_checkout() && !is_wc_endpoint_url('order-received')) {
        $product_id = 123; // Specific product ID
        $product_in_cart = false;
        foreach (WC()->cart->get_cart() as $cart_item_key => $cart_item) {
            if ($cart_item['product_id'] === $product_id) {
                $product_in_cart = true;
                break;
            }
        }
        if (!$product_in_cart) {
            wp_safe_redirect(home_url());
            exit;
        }
    }
}
add_action('template_redirect', 'custom_checkout_redirect');
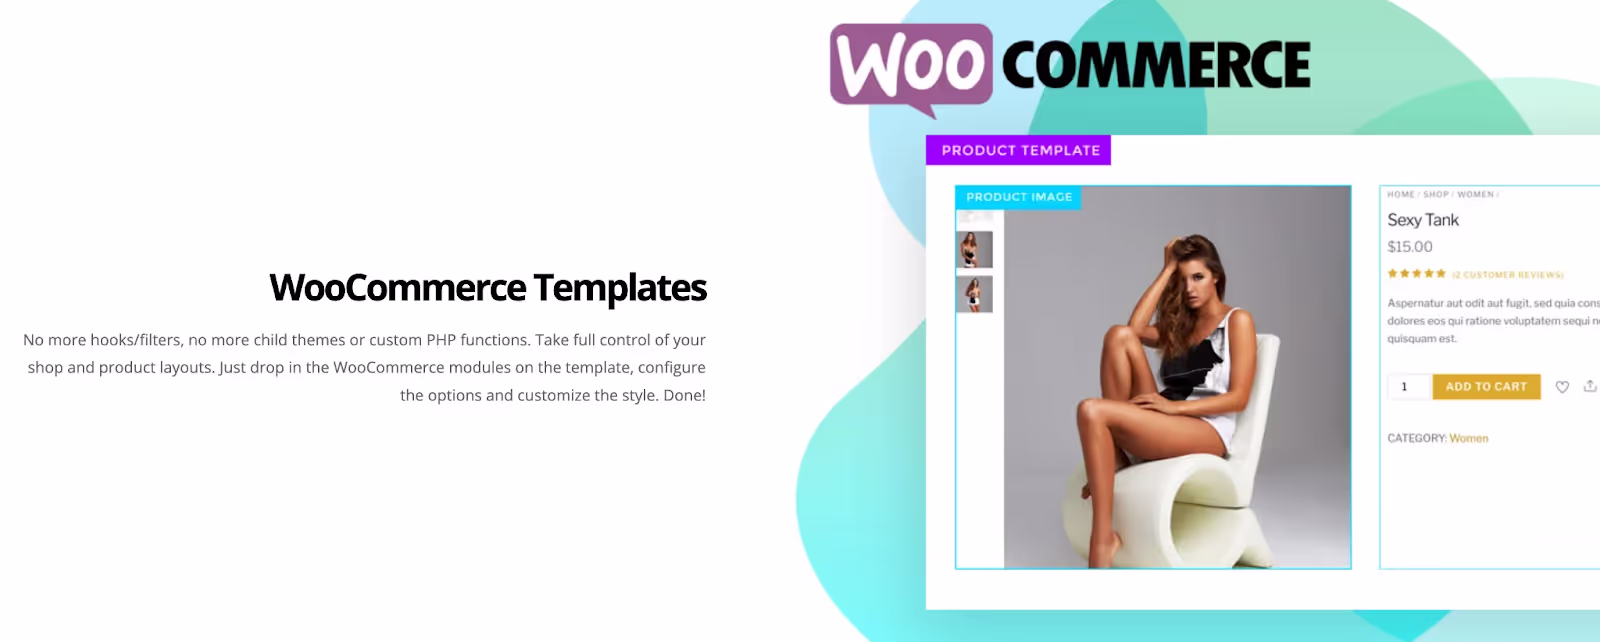
Building a WooCommerce WordPress Theme Using a No-Code Theme Builder
If you're looking to create a custom WooCommerce theme but coding isn’t your forte, theme builders are the way to go. Here's a quick look at some of the best WordPress theme builders that can help you out:
1. SeedProd
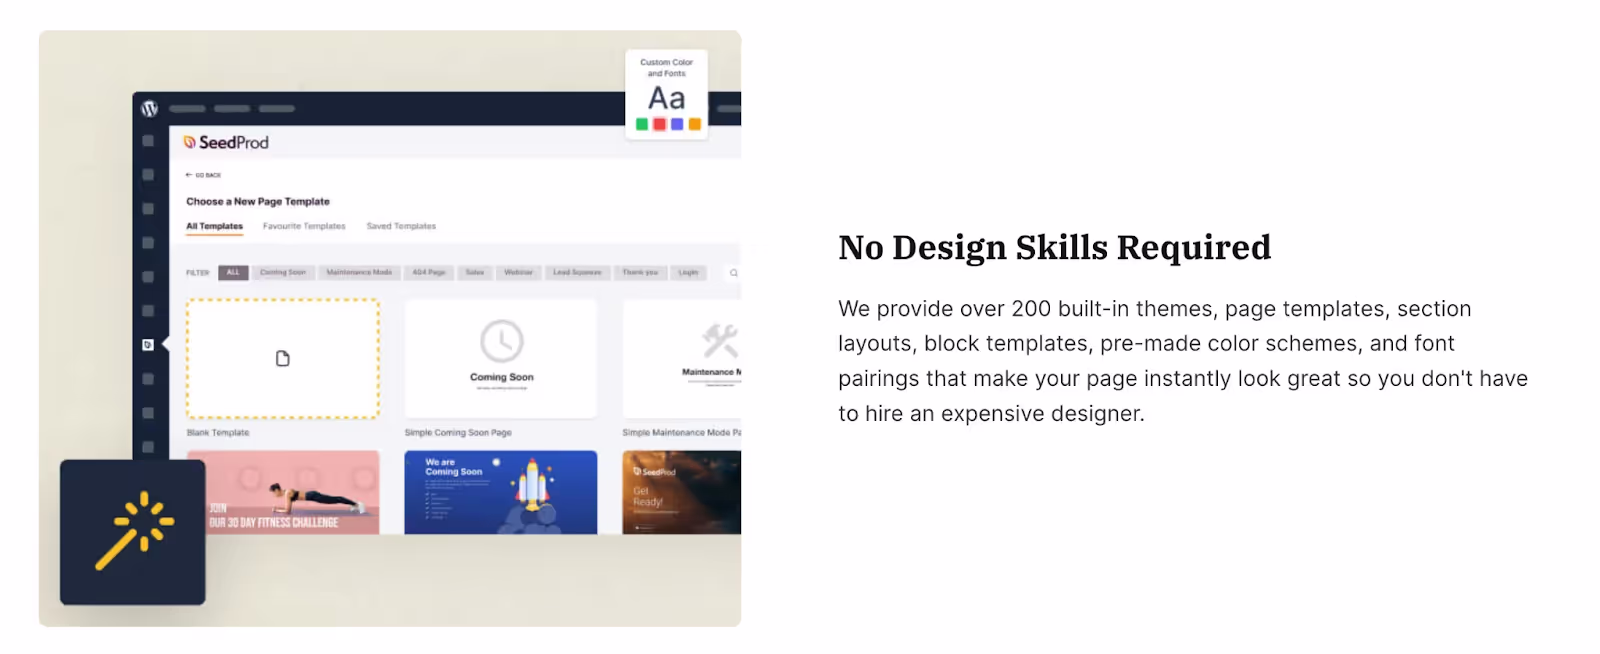
SeedProd makes theme building a breeze. It’s perfect for beginners because it's super intuitive. Just pick a template and customize it with drag-and-drop blocks to fit your style. It’s great for crafting everything from landing pages to full websites.
2. Beaver Themer
For the more tech-savvy, Beaver Themer offers deep customization. It’s perfect for developers or anyone comfortable with more complex setups. Build detailed page templates with dynamic data and decide exactly where they show up on your site.
3. Elementor
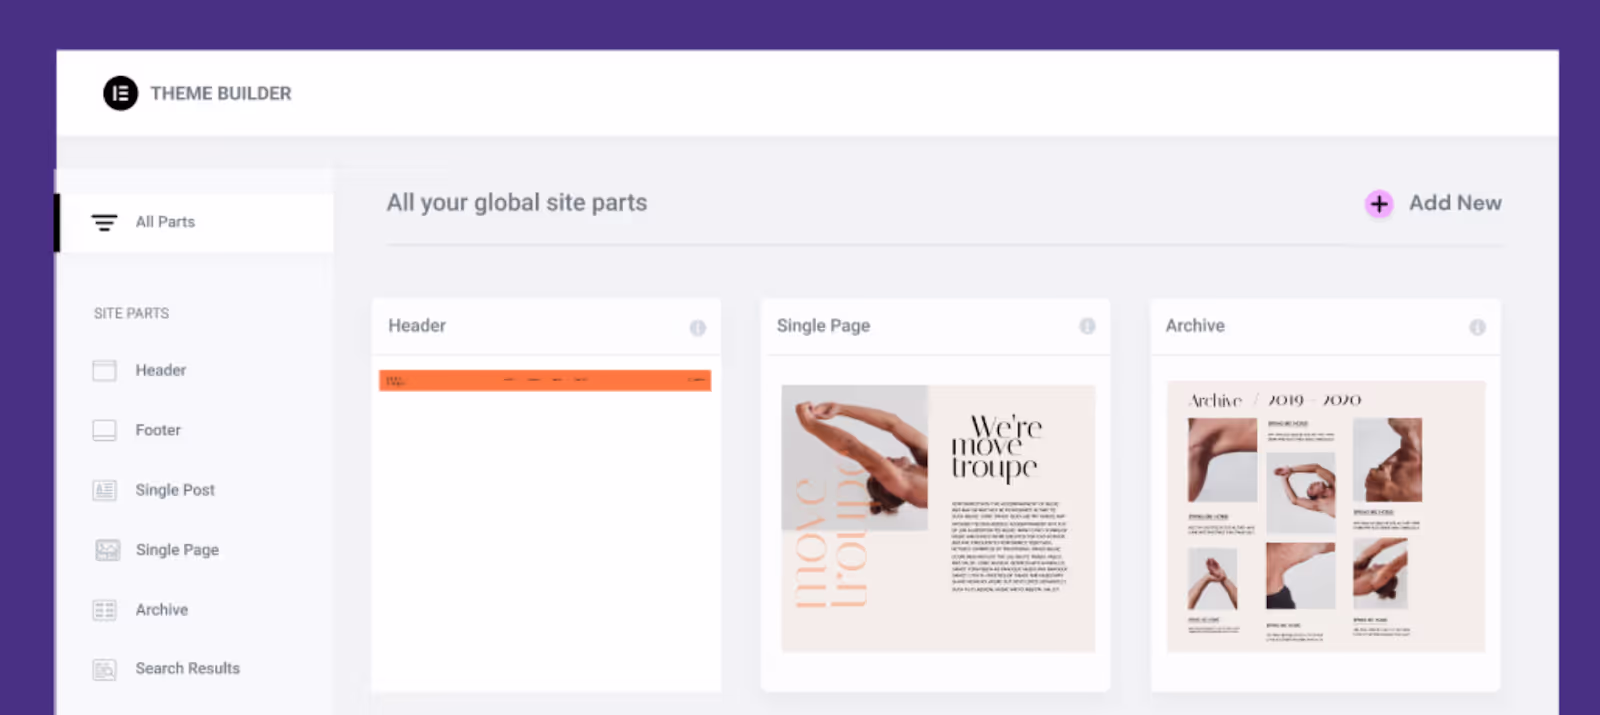
With Elementor’s drag-and-drop interface, you can tweak your site’s look in no time. Elementor Pro offers full website kits and extensive customization options for every part of your site, making it a solid choice for newbies wanting to get creative.
4. Thrive Theme Builder

Thrive Theme Builder is like having a web design tutor. It walks you through the setup with a friendly onboarding wizard, making it easy to brand your site right out of the gate. You can tweak everything from typography to page templates without a hitch.
5. Divi
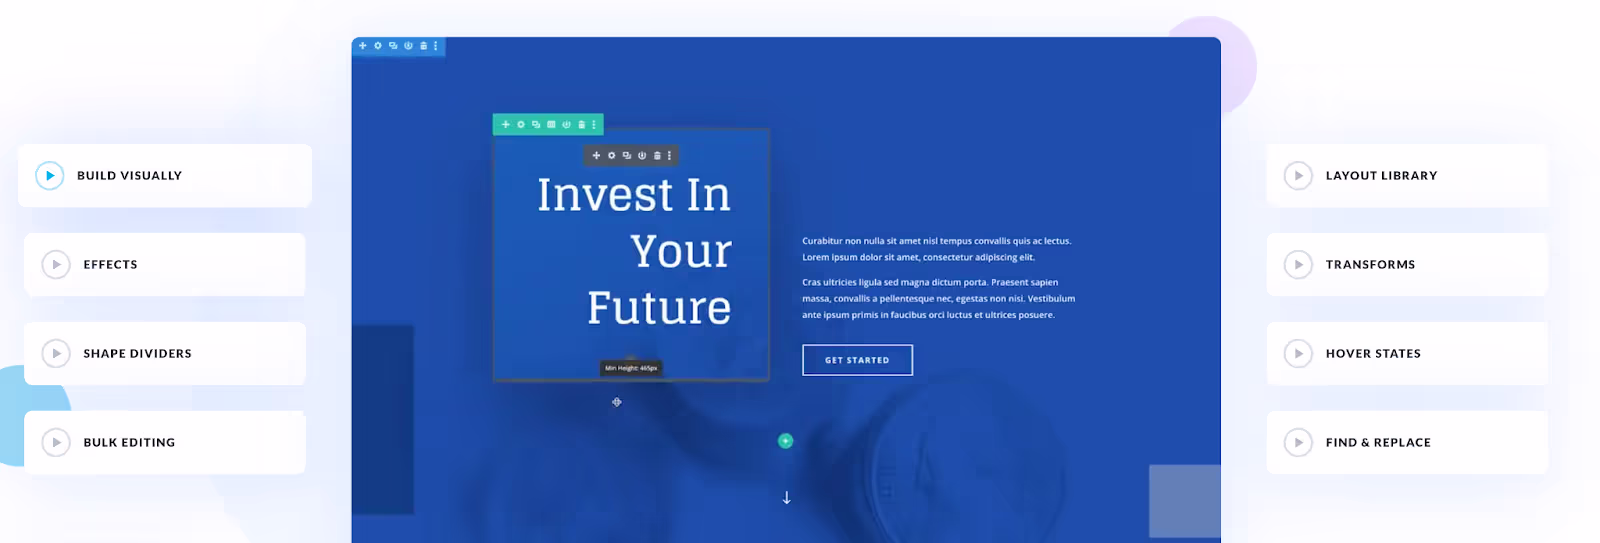
Divi by Elegant Themes packs a punch with versatility. It’s equipped with pre-made layouts to streamline the design process. The control you have with Divi is top-notch—this plugin offers detailed customization and the ability to fine-tune every aspect of your site’s design.
6. Themify Builder Pro
Themify Builder Pro is a versatile WordPress theme builder that lets you craft custom WooCommerce pages, headers, footers, and 404 pages with its drag-and-drop interface. It's great because any templates you create remain linked to your theme, making site redesigns or migrations seamless.
7. Oxygen

Oxygen is a WordPress theme builder suited for developers or experienced marketers. It offers a frontend editor that lets you design custom headers, footers, and WooCommerce pages. The tool is technical but includes familiar elements such as animations and ready-made layouts. You can also create custom blocks for the Gutenberg editor.
Using a WordPress Framework for Initial Development and Customization
You can also consider starting with a WordPress framework when developing a custom WooCommerce theme.
A WordPress framework is like a toolkit for building WordPress themes. It's packed with standard design elements and features that serve as the foundation for your theme. This means you don’t have to start from scratch—you get a head start with a robust base.
Which WordPress frameworks are solid choices for a beginner? Here’s what we recommend:
Genesis Framework
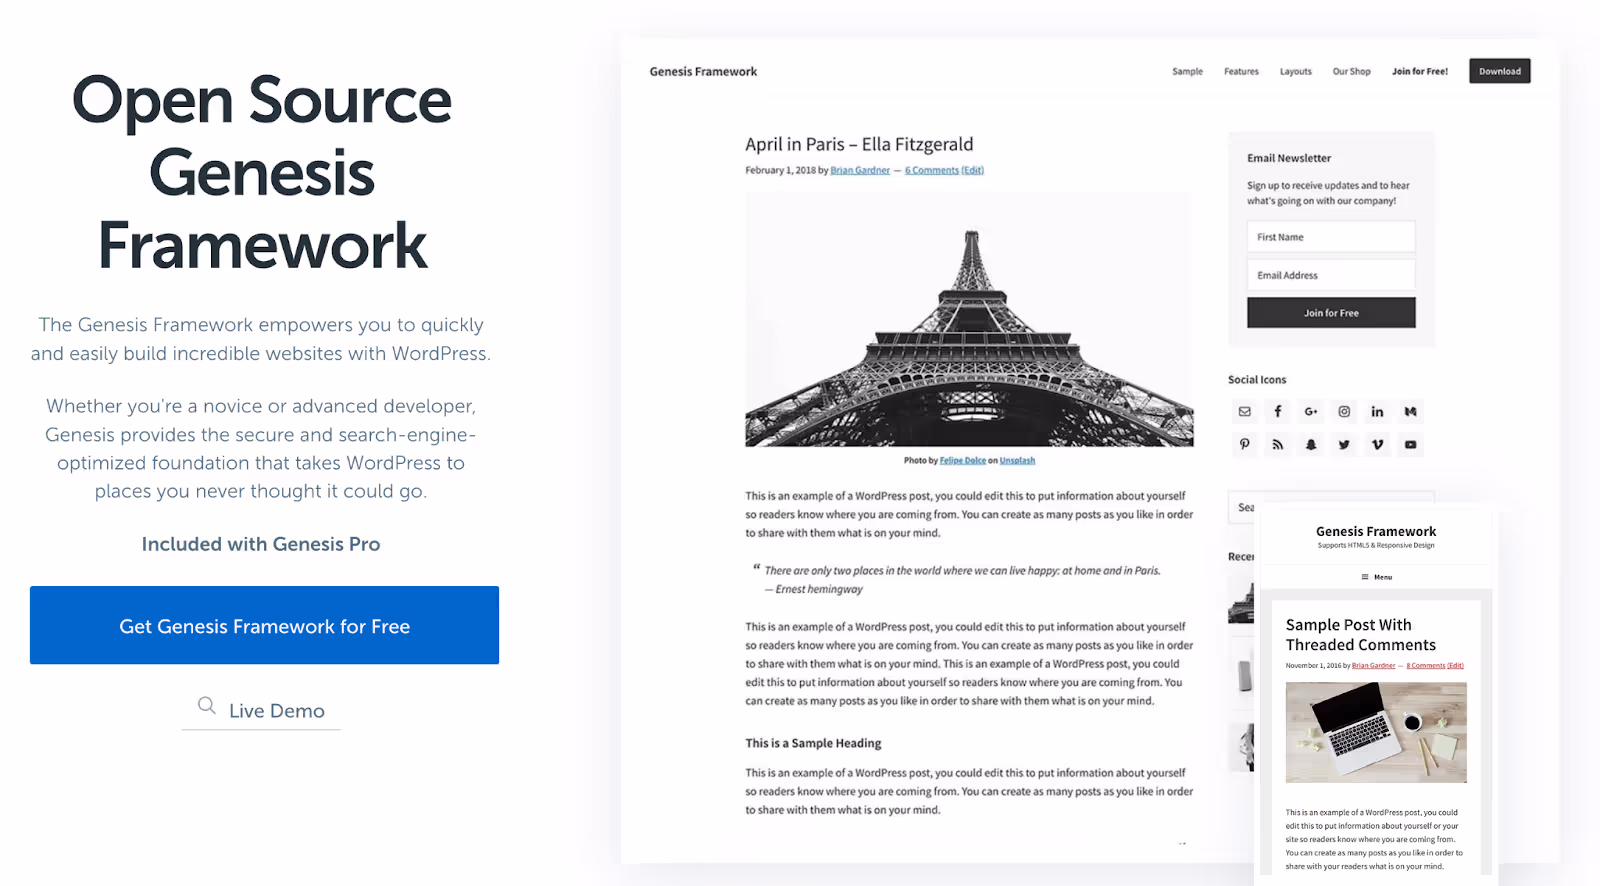
Many consider Genesis as the speedster of WordPress frameworks. It’s built for performance. Lightweight and SEO-friendly, Genesis make your site quick and responsive. It offers a range of child themes that are a snap to customize. The catch? It’s a bit pricey and the learning curve can be steep for beginners.
Gantry Framework
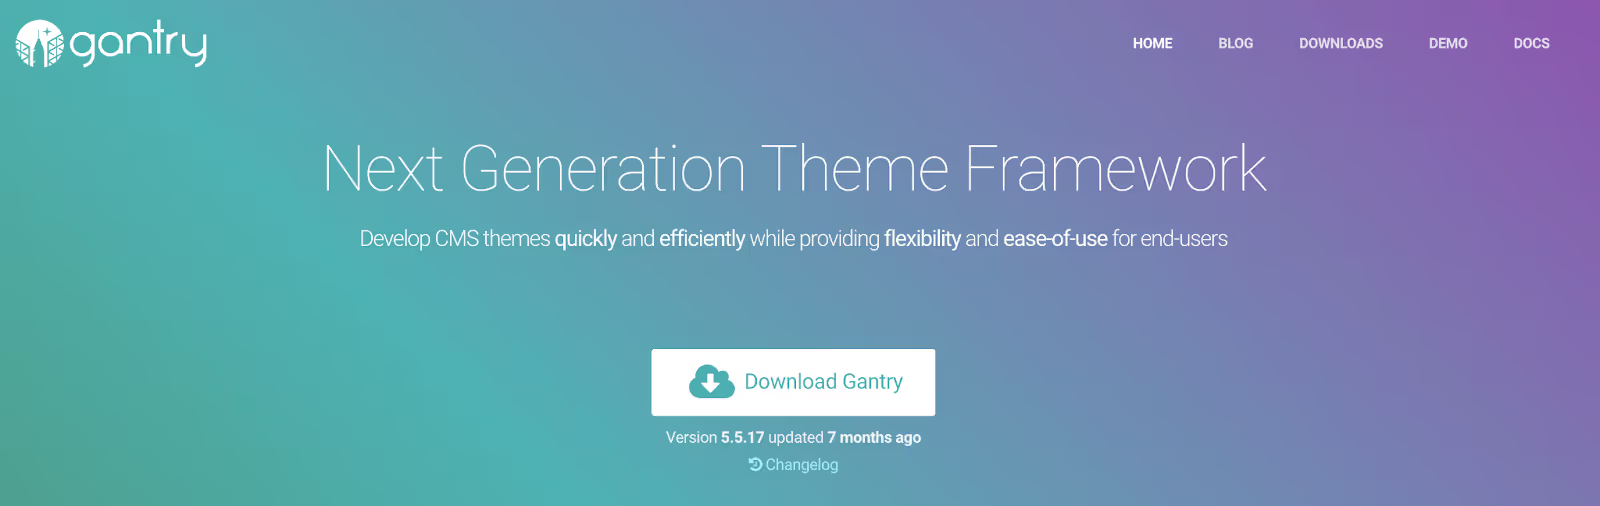
Gantry is a powerful, flexible framework designed for developers who want a user-friendly interface combined with strong customization capabilities. Its layout manager and visual menu editor make it straightforward to design complex layouts without deep coding. Gantry is particularly suited for creating responsive, cross-platform WordPress themes.
Themify
Themify allows for quick and easy customization with its drag-and-drop interface, which is perfect for those who prefer a visual approach to site building. It supports dynamic content and offers a variety of pre-built WooCommerce templates. Themify's flexibility and ease of use make it a great choice for designers at all skill levels.
Cherry Framework
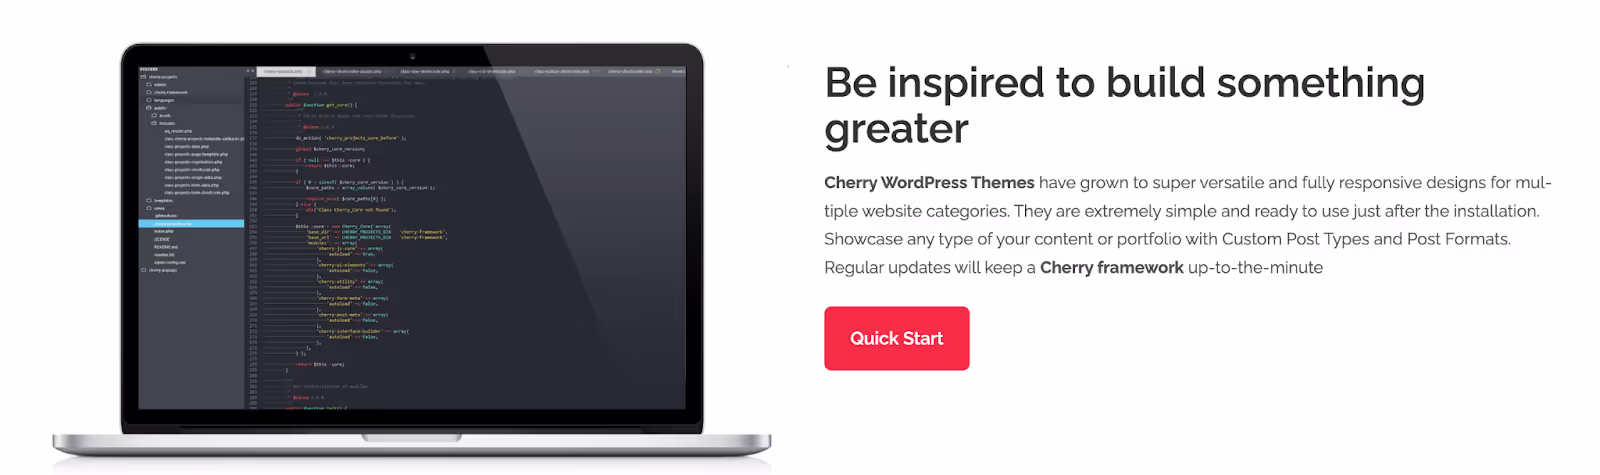
Cherry Framework is best known for its modular structure, which makes it highly adaptable for various project needs. It's built on Bootstrap, ensuring responsiveness and consistency across devices. With its open-source nature, Cherry offers extensive customization opportunities—including numerous child themes and the ability to extend functionality via plugins.
Editing An Existing WooCommerce Template with a Plugin
Wondering how to tweak your WooCommerce theme without digging through code files? It’s easy. All you need is the Edit WooCommerce Templates plugin.
To install and activate it, go to your WordPress dashboard, click on Plugins > Add New. Now search for Edit WooCommerce Templates, hit that Install Now button and then activate it.
Once you've got the plugin running, head over to WooCommerce > Theme Templates. Here, you’ll see all the templates available for edits under your theme. Each template lists its title, path, and whether it’s been customized.
To make changes, simply click Edit next to the template you want to work on. If you don’t spot your template right away, use the search bar to find it. You’ll be redirected to a template editor where you can drop in code snippets. Feel free to use the examples we talked about earlier or modify them to fit your style.
Hit Save Template to Theme once you're done. Changed your mind? No sweat—just hit Reset to revert your edits.
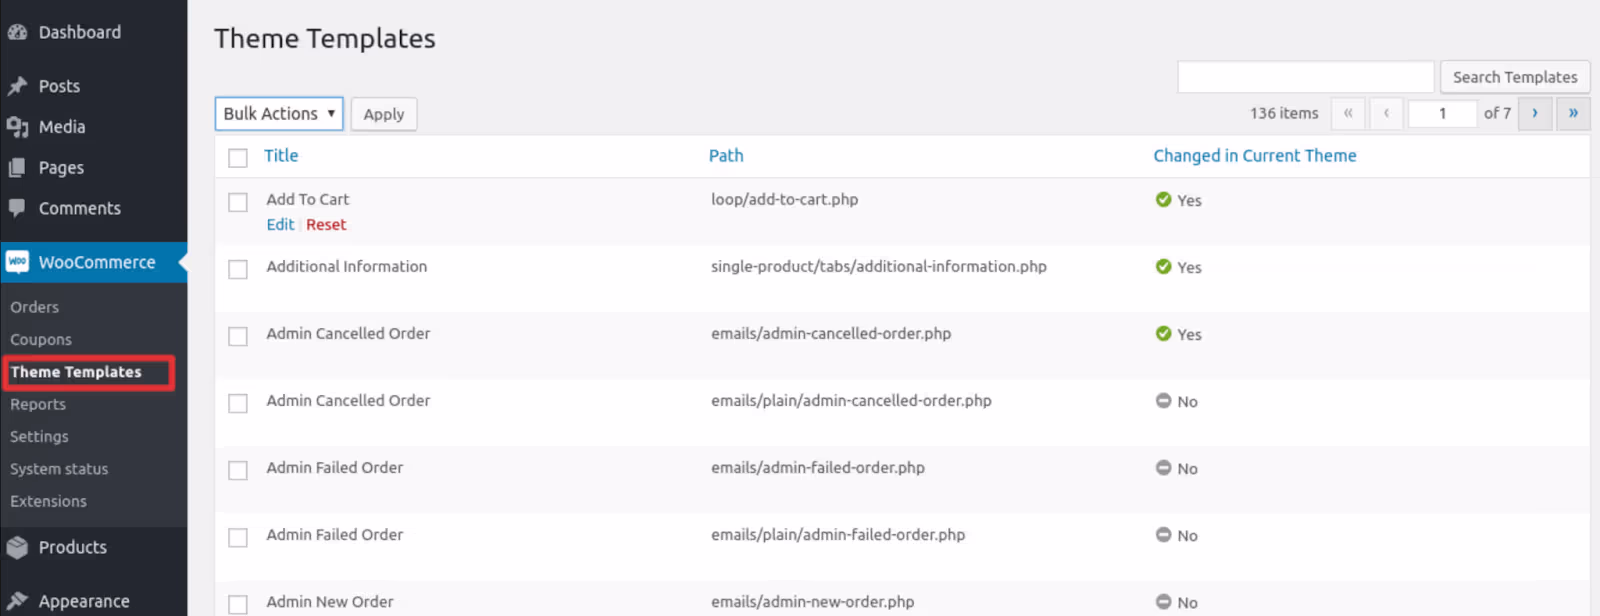
You can also check your updates by going back to WooCommerce > Theme Templates. If everything's good, the Changed in Current Theme status will show as Yes.
Final Verdict
There you have it—all the essentials for developing a custom WooCommerce theme. Whether you're comfortable coding or prefer a more user-friendly approach, there's a method for everyone. For those less tech-savvy, plugins can simplify the process. You can use Spocket for Woocommerce dropshipping integrations. Happy customizing!
How to Build Custom WordPress Themes - FAQ
What are WooCommerce templates?
WooCommerce templates are PHP files that define the layout and organization of your WooCommerce pages like product pages, cart, and checkout. These templates are part of the theme and can be overridden by custom templates for specific design needs.
How can I customize a WooCommerce theme?
You can customize a WooCommerce theme using the WordPress customizer, by editing the theme’s files or using a child theme to make more extensive customizations without affecting the original theme. Using CSS and PHP, you can modify layouts, styles, and functionalities.
Can I use any WordPress theme with WooCommerce?
While you can use most WordPress themes with WooCommerce, themes specifically optimized for WooCommerce offer better compatibility and smoother integration. They also ensure all store elements are styled and functional.


![Woocommerce vs Webflow for eCommerce Website [2025]](https://cdn.prod.website-files.com/5b476bdb731aa1e787a6aa02/667ebc1637be5e783b19a2e6_Woocommerce%20vs%20Webflow.avif)